Aug 5, 2025
Best Curtain Colors for White Walls: Tips for a Stunning Look
Ever stare at a blank wall and wonder what to do with it? Wall mounts are the easiest way to add personality without clutter. They hold mirrors, shelves, TVs, art, and even plant pots. The right mount can make a room feel bigger, cozier, or more organized. Below you’ll get straight‑forward advice on the main types, what to look for when buying, and simple steps to install them safely.
First, know the basic categories. Heavy‑duty brackets are built for TVs, large shelves, or big mirrors. They usually have multiple screws and a sturdy metal frame. Floating shelves hide the brackets behind the wood, giving a clean look. Adhesive mounts use strong glue pads—great for small frames or decorative items when you can’t drill. Finally, magnetic mounts let you switch items on and off quickly; they’re popular for kitchen knives or garage tools.
Each type has a weight limit. Check the product label before you buy. If you’re unsure, choose a mount rated a bit higher than the item’s weight. That extra margin prevents sagging or accidents.
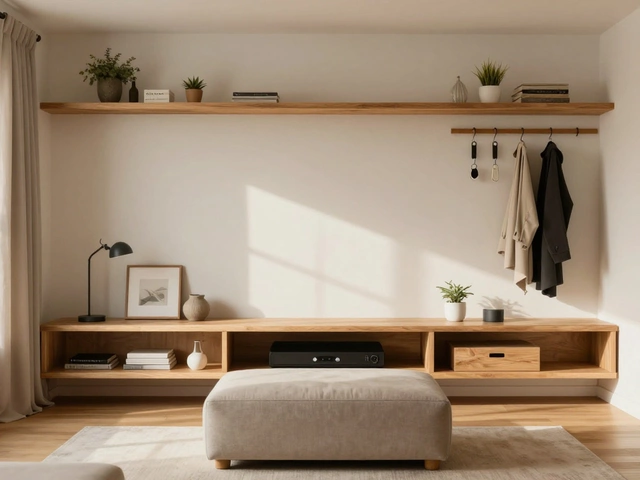
Start with the room’s purpose. In a bedroom, a sleek mirror mount above the dresser can brighten the space. In a living room, a floating TV bracket saves floor space and creates a modern vibe. For a hallway, a narrow shelf mount holds keys and mail without taking up floor area.
Next, think about the wall material. Drywall is common, but it needs a stud or wall anchor for heavier pieces. Brick or concrete walls require masonry screws and a drill with the right bit. If you have plaster, use a drill bit designed for that material and consider a toggle bolt for extra grip.
Measure twice, drill once. Mark the spot at eye level for picture frames or a comfortable viewing height for TV screens. Use a level to keep everything straight—no one wants a crooked shelf.
Installation is quicker than you think. Gather a drill, screwdriver, stud finder, and a pencil. Find the studs, mark the drilling points, pre‑drill holes, and then secure the mount with the supplied screws. For adhesive mounts, clean the wall with alcohol, press firmly for the recommended time, and let it cure before hanging anything.
After the mount is up, double‑check the weight rating. Place the item gently and see if the mount holds steady. If it feels wobbly, re‑install using a stud or stronger anchor.
Maintenance is simple. Tighten screws every few months, especially in high‑traffic areas where vibrations can loosen them. Clean the mount surface with a damp cloth—no harsh chemicals needed.
When you combine different wall mounts, you can create a gallery wall that looks curated, not chaotic. Mix framed art with small shelves for plants, and add a mirror to reflect light. The key is to keep a consistent spacing, usually 2–3 inches between pieces, and stick to a common color palette for frames or brackets.
Ready to upgrade your walls? Pick the right type, follow the safety steps, and enjoy a room that feels instantly richer. Wall mounts are cheap, easy, and surprisingly transformative—so start planning your next wall makeover today.
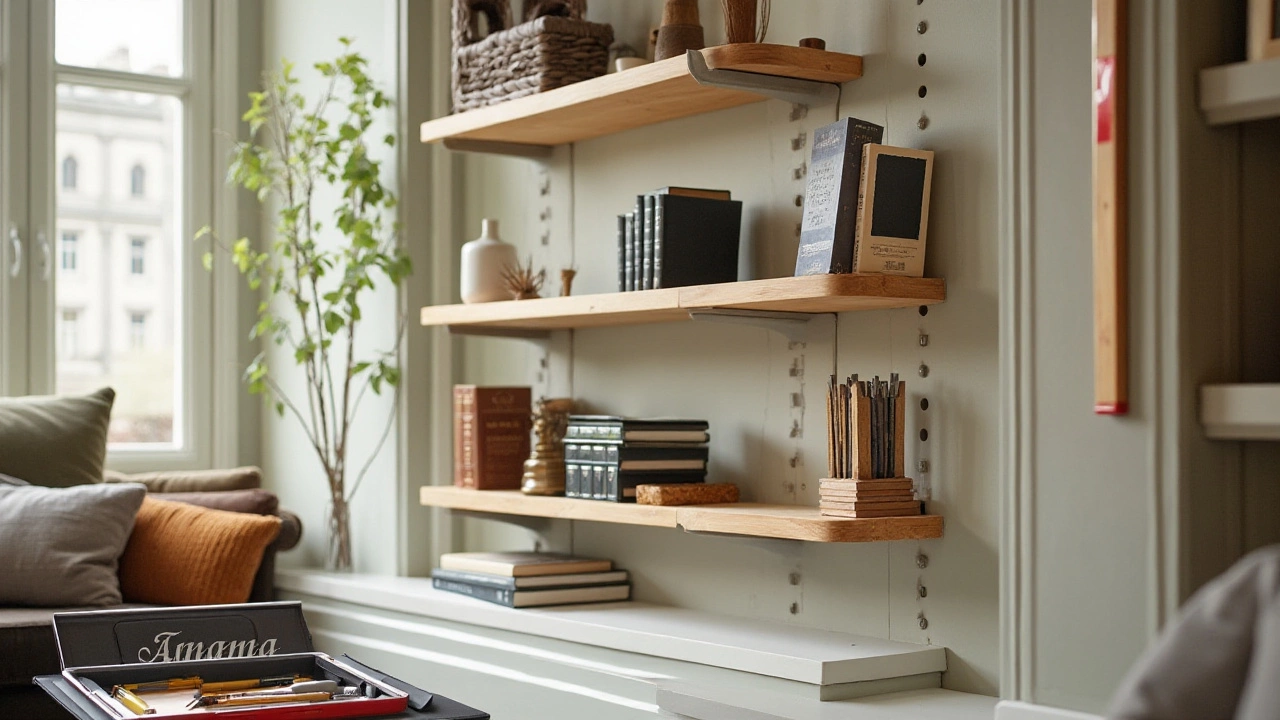
Installing floating shelves can enhance the aesthetic and functionality of a space. Understanding basic guidelines like weight limits, spacing, and installation techniques is crucial for safety and design. The right choice of materials and mindful placement can transform any room into an organized haven. From choosing the perfect wall anchor to stylistic arrangements, this article covers everything you need to know about floating shelves.