Ever wondered what's behind the stubborn black layer at the bottom of your beloved pan? It's a mystery many cooks face, often leaving one to ponder the cause and solution. This article delves into the small yet persistent problem that’s more common than you think—and no, it's not a sign of your culinary skills going awry.
Our exploration will take you through the nature of this burnt residue, shedding light on why it happens and unraveling common misconceptions. Armed with a mix of science and practical know-how, you'll find here how household items can become your best allies in banishing stains and extending your cookware's life.
So put those scrubbing pads aside and join us in discovering both preventative measures to safeguard your pans, and restorative techniques to reclaim their lost shine. Let's dive into the world of pans and bring back their sparkle!
- What Causes the Black Stuff?
- Common Misconceptions
- The Science Behind Burnt Residue
- Natural Cleaning Solutions
- Preventive Measures
- Restoring Your Pan’s Shine
What Causes the Black Stuff?
When you're trying your hand at a new recipe or whipping up a familiar favorite, the last thing you want to see is that unsightly, burnt layer of black stuff at the bottom of your pan. Many people assume it's merely a sign of poor cooking skills, but in reality, it involves a bit more than that. At its core, the stubborn black residue is often composed of food particles and oils that, when subjected to high heat, undergo a chemical transformation. This transformation is known as the Maillard reaction, a process where amino acids and sugars in your food react under heat to create new flavor compounds and brown coloring.
The Culprits: Heat and Time
High heat is a primary catalyst in this equation. During cooking, especially when sautéing or frying, excess heat causes the food's natural sugars and proteins to break down. Frying, with its higher oil content, often results in oil residues that adhere to the pan's surface when overheated. If left unchecked or unattended, these residues can burn and create the black crust we often encounter. Even slow-cooked dishes are not exempt; over the course of time, these residues can accumulate, hardening as they lose moisture, making them evidently more challenging to remove.
"The use of proper heat control is one of the key components in mastering culinary techniques,” says renowned chef Thomas Keller. “Understanding the role of heat can turn an average dish into something sublime."
Misunderstandings and Modern Kitchens
A common misconception is that quality cookware is invincible to burnt residues. Truth is, no matter the pan—be it stainless steel, non-stick, or cast iron—they all can fall victim to the persistent black scourge if mishandled. Many modern kitchens tout high-power burners, a factor that compounds the problem. These burners, while efficient, can lead to rapid overheating if one isn't careful, leaving even experienced cooks with unexpected results. This particular aspect of modern kitchen design makes rethinking traditional cooking techniques necessary, an adjustment that often involves being more deliberate and patient with heat application.
Understanding these causes can provide clarity and might even change the way you interact with your kitchenware. Whether it's a stainless steel pot or a family-heirloom cast iron skillet, awareness of these factors and an appreciation for the science of cooking can make all the difference between a perfect sear and a clean-up nightmare.
Common Misconceptions
It's easy to jump to conclusions when you see the unsightly black residue clinging to your pan. Many assume this charred layer is a result of poor cooking skills, but that's not often the case. While burning can happen to the best of us, assuming it's an inevitable part of cooking isn't entirely true. A common misconception is that the black stuff is purely a consequence of cooking with the wrong type of oil. High-heat oils like grapeseed or avocado can withstand higher temperatures, but it's not solely the choice of oil that dictates this outcome. Sometimes, it's about managing the heat levels and understanding your stove's temperature quirks.
Another misunderstanding is that stainless-steel or non-stick pans are immune to such issues. In reality, any pan can fall victim to burnt residue if left unattended for too long or used incorrectly. People often expect non-stick pans to work miracles, remaining spotless through all cooking adventures. However, these pans require care just like any other. While non-stick surfaces lessen food adherence, they don't prevent burning if the heat's cranked up too high or left unattended.
There's also a common rogue belief that a dishwasher can magically dissolve these stains without the need for manual effort. Many find themselves disappointed when they unload their dishwasher only to discover the burnt black residue still intact. Dishwashers aren't equipped to tackle the kind of crusted-on grime burnt food leaves behind. It's often a task that requires a bit of elbow grease and the right cleaning interventions. As Chef Thomas Keller once said,
"Good food is a result of having a good technique."Understanding the cooking process, managing heat appropriately, and knowing when to intervene are keys to maintaining pristine pans.
Some even believe that using harsh chemical cleaners is the only way to restore their cookware. While these can sometimes be effective, they often come at a cost—damaging the surface or leaving behind harmful residues. It's always tempting to reach for the toughest solution available in a bid to get results fast, but gentle and consistent care is often far more beneficial in the long run. Adopting natural cleaning solutions not only protects your pans but also maintains a healthier cooking environment.
The Science Behind Burnt Residue
Understanding what exactly constitutes the black residue on your cookware can illuminate why it appears and how best to deal with it. At its core, this black layer results from a chemical reaction. When you cook food, especially at high temperatures or for extended periods, amino acids and sugars in the food undergo caramelization and the Maillard reaction. These reactions are crucial to achieving those richly flavored dishes we love, but they also lead to the formation of compounds that can stick and burn on the pan's surface.
Once food is adhered to the pan, continued exposure to heat will lead to carbonization. In simpler terms, it means that the food particles get burnt, turning them into that stubborn black layer. This often happens when fat or oil is heated beyond its smoke point, the temperature at which it begins to produce smoke, and eventually, soot-like particles. These particles contribute to the black layer you see, and they're maddeningly persistent due to their composition.
As celebrity chef Alton Brown has mentioned, cooking is as much a science as it is an art.
"Understanding the science behind the browning process can make all the difference," he notes.This residue can be particularly hard due to crosslinking polymers formed during burning. Consider the pan as a canvas and these reactions as relentless painters who have no intention of letting go of their art. The more times the pan is used without thorough cleaning, the more layers of burnt residue build up.
Kitchen Chemistry: Facts and Findings
Several factors influence the intensity and stubbornness of burnt residue. High-heat cooking methods, such as frying or searing, and cooking foods with higher sugar content exacerbate residue formation. Techniques like deglazing—which involves adding liquid to a hot pan—can help lift some recent residues, though they won't eliminate older build-ups. Awareness of these scientific principles can help you adjust your cooking habits to minimize residue implications.Cleaning burnt residue is not only about the physical task but understanding the chemistry involved. For example, stainless steel pans can handle abrasive cleaning more than non-stick pans, which require gentler approaches. So when next you're in the kitchen, consider these factors to keep your cookware clean and long-lasting.
Natural Cleaning Solutions
When it comes to tackling the burnt residue on your pans, the silver lining is that the solution might already be in your kitchen pantry. Natural cleaning solutions are not only effective but also gentle on your cookware, extending its life and maintaining its integrity. These methods employ non-toxic ingredients that are safe for both you and the environment. Start by reaching for baking soda and vinegar, which are two of the most celebrated natural cleaning agents known for their versatility and ability to cut through grease and grime.
The chemical reaction between baking soda and vinegar is what makes it so powerful against tough stains. When combined, these ingredients create carbonic acid, which breaks down the residue, making it easier to scrub off without damaging your cookware. To use this method, sprinkle a generous amount of baking soda over the burned area, then pour vinegar over it. Let it fizz and bubble for a few minutes to allow the reaction to take place. This process helps lift the burnt residue, making it easier to remove with a simple scrubbing pad or brush.
Another technique, as suggested by many, involves boiling a mixture of water, vinegar, and lemon juice in the affected pan. The heat helps loosen the stubborn residue, while the acidity of the lemon juice and vinegar work together to dissolve the burnt bits. This method not only cleans but also leaves your kitchenware looking rejuvenated and smelling fresh. If you prefer a slightly more abrasive approach, a paste made from baking soda and water can be applied directly to the spots and left to sit before scrubbing. This gives a bit of extra power to remove tougher spots without harming the pan.
According to the Sustainable Cleaning Institute, 'Natural ingredients not only effectively clean but do so without the toxic emissions of artificial cleaners.'
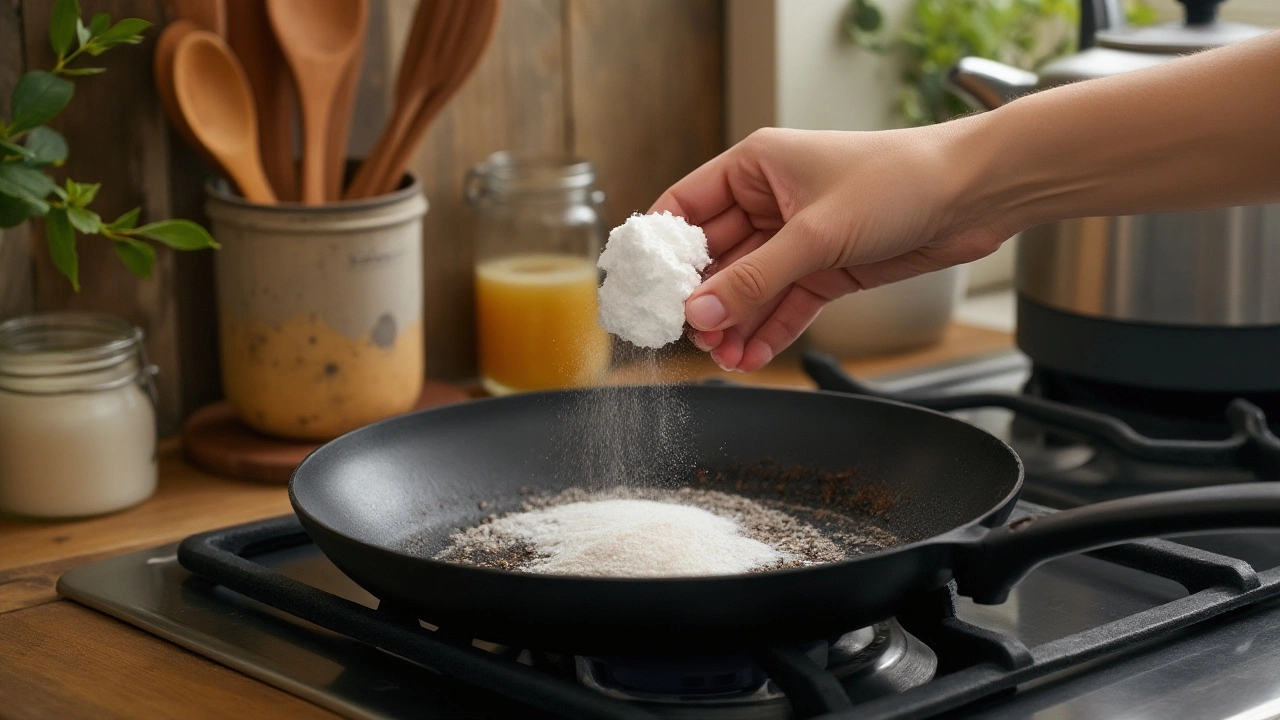
Alternatively, salt can serve as a gentle abrasive to lift away stains. Simply sprinkle salt onto the pan, add a dash of warm vinegar, and scrub with a piece of crumpled aluminum foil or a non-scratch scrubber. There's something therapeutically satisfying about this process, and the results speak for themselves. Not to be overlooked, a strong defense is just as important as a good offensive strategy. Maintaining a regular cleaning routine reduces the buildup of unwanted residue. Make sure to clean your pans immediately after use. Allowing foods to cool and harden only gives them more time to bond to the surface. By making use of these simple, natural ingredients, not only do you effectively tackle the present residue, you also prevent future occurrences, safeguarding your kitchen tools for years of delicious culinary adventures.

Preventive Measures
Every great chef knows the secret to maintaining perfect cookware is not just about the cooking but in the prep before and the care after. If you’ve been caught cursing at burnt pans, taking preventive steps can save both time and effort. First and foremost, always start with a clean pan. Even the smallest particles left from previous cooking sessions can catch heat quickly and start the unwanted cycle of burnt residue. Maintaining a habit of cleaning your pans properly after each use helps eliminate this nuisance from building up. But it doesn’t end there; seasoning is a trick often forgotten but highly effective. By creating a thin layer of oil that bonds to the pan's surface when heated, you create a natural non-stick layer that helps repel food particles next time the heat’s on.
Keep an eye on the temperature. High heat is often a death sentence for pans. Not only does it cause food to burn to the pan, but it also can compromise the integrity of the material itself over time. Use moderate and even heating to cook your ingredients thoroughly without causing unnecessary hotspots that lead to blackened surfaces. This is particularly important for those using non-stick cookware. Speaking of which, getting the proper utensils is essential. Silicone or wooden spatulas are your pan's best friends as they prevent scratching; scratches can lead to uneven heating and residue buildup as well.
“A clean kitchen space is a chef’s silent partner,” says chef Escoffier, a pioneer of modern cuisine.
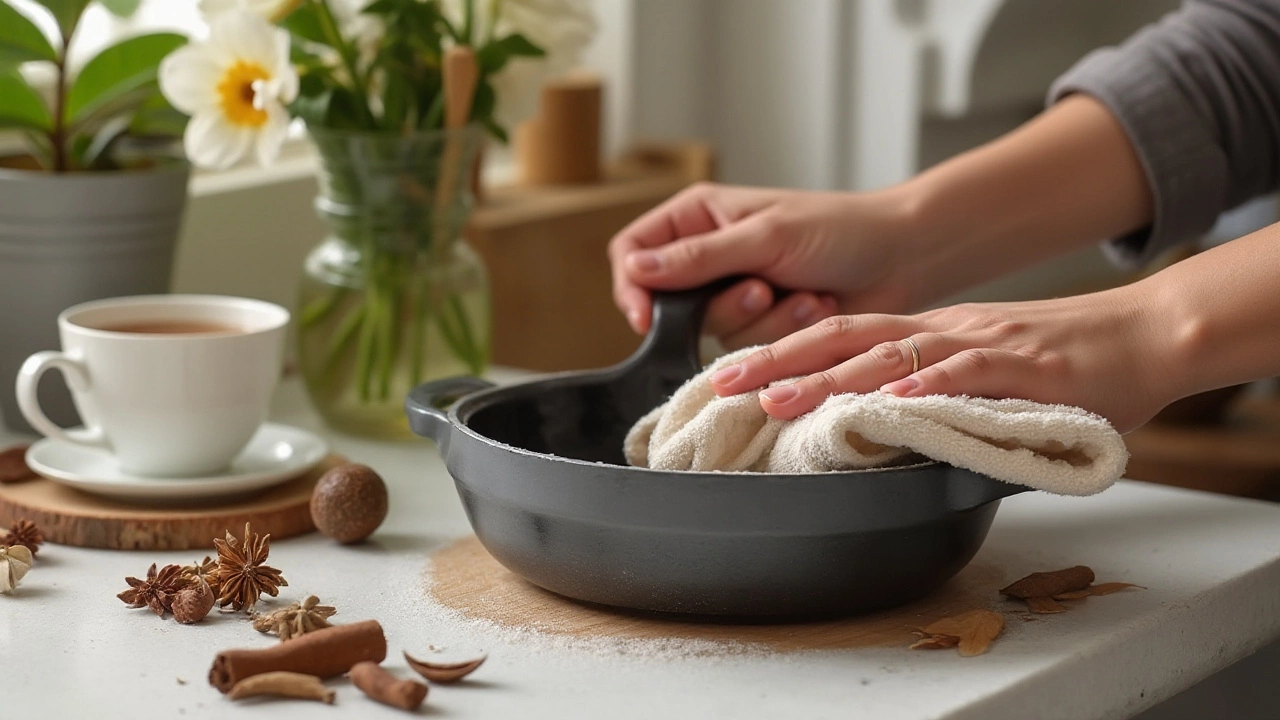
A trick many professional chefs swear by is pre-heating the pan before adding any fat or oil, as it helps create a thermal barrier between the material and the food, safeguarding against sticking. Make sure you add oil only when the pan is adequately heated—watch for that shimmer of the oil—that’s your signal to introduce the first ingredient. It's critical always to dry your pans after washing to avoid any moisture that can quickly heat up and cause food to stick on next use. Remember, storing cookware properly goes a long way: hang them up if possible. Nesting them can lead to scratches and compromise any seasoned layer you worked hard to achieve.
From a practical standpoint, a small pinch of salt can be used on stubborn residue instead of abrasive scrubbers. While scrubbing might seem the easier option, it will in essence ruin any preventive measures taken. Some cooks who love cast iron will tell you to think of your pan as an heirloom and treat it with the care you would fine china. Never underestimate the power of consistent and thoughtful care when it comes to keeping your pans gleaming and strong.
Restoring Your Pan’s Shine
Sitting back to appreciate a gleaming pan after a hearty cooking session brings a unique satisfaction—something only a cook can truly understand. Yet, when faced with a stubborn black layer clinging to the bottom of your pan, the task might feel insurmountable. But worry not! Reviving your pan’s former glory is a journey well worth taking, armed with simple yet powerful methods that make your kitchenware sparkle like new.
The secret lies in understanding what makes up the tarnish encasing your cookware. The burnt residue often consists of irretrievably charred food particles mixed with oils, creating a layer that baking and elbow grease alone can’t always tackle. Imagine this grime as a stubborn guest refusing to leave your party, but one easily persuaded by the right approach. Begin this transformation by turning to our trusty household heroes—baking soda and white vinegar. Renowned for their cleaning prowess, they combine to form a bubbling dance of acids and bases that meticulously lift grime away.
Let's dive deeper into the steps. Start by sprinkling a generous amount of baking soda all over the burnt surface. Baking soda, soft yet persistent, starts breaking down the layer without scratching your cookware. Follow up with a touch of white vinegar, enough to see the fizzing action, reminiscent of a science experiment. The gentle but effective frothing works into the residue, freeing your pan from its grasp. Should the blackened layer seem particularly obstinate, allow the mixture a few minutes to work its magic. A gentle scrub with a non-abrasive sponge will finalize the process, bringing out the luster that first caught your eye when you bought the pan.
The Baking Soda and Vinegar Process is heralded as a "game-changer" by culinary expert Susan Westmoreland in Good Housekeeping, praising its ability to "renew and refresh cookware like a testament to the resilience of modern kitchen science."
If you're dealing with stainless steel or copper pans, consider an additional friend from the pantry—a bit of lemon juice, known for its acidity to cut through grime stubbornly holding on. The lemon juice will not only aid in dislodging the residue but also leave behind a fresh, citrusy scent. After restoring the pan’s shine, rinse it thoroughly to ensure no cleaning agents remain, which can alter flavors during future cooking endeavors.
For those more challenging cases, patience is key. Soaking your pan in hot, soapy water overnight lets the water infiltrate and soften the residue. This simple act can often encourage the grime to lift with minimal scraping. Using a wooden spatula gently to avoid scratching your pan, scrape away any remaining deposits. The process may take time, but the rewards of a gleaming pan ready for your next culinary adventure are immensely satisfying.
Restoring the shine to your cookware doesn't just enhance its looks; it extends the life of your kitchenware and ensures even heat distribution, making every dish cooked therein a pleasure. Embrace the ritual of revitalizing your pots and pans as a part of your kitchen routine and witness firsthand the ease in which natural methods can breathe new life into your favorite utensils.

