Bathroom Refresh Planner
Plan your update strategically. Select your current bathroom features and desired upgrades to see estimated costs and style tips.
1. Current Features
Enter details and click "Generate Plan" to see your results.
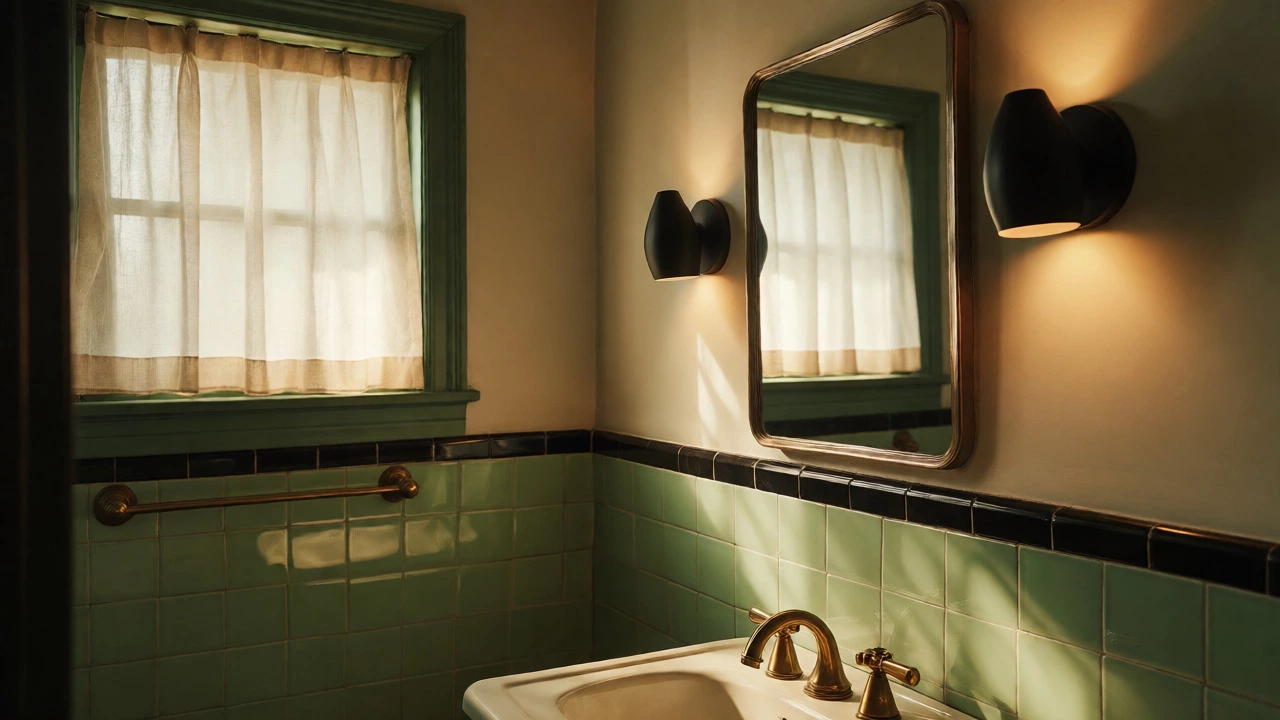
You walk into a bathroom that screams "1985." The tile is avocado green. The fixtures are brass. The mirror has seen better decades. Most people’s first instinct? Rip it all out and start from scratch. But here’s the truth: you don’t need a full demolition to make an old-fashioned bathroom look nice. In fact, some of the most charming spaces today started as dated relics. The key isn’t fighting the past-it’s working with it.
I’ve helped dozens of homeowners in Wellington turn tired bathrooms into cozy, stylish retreats without blowing their budgets. The secret lies in strategic updates, not total overhauls. You can keep that clawfoot tub or those original tiles and still end up with a space that feels fresh, functional, and uniquely yours. Let’s break down exactly how to do it.
Start With Lighting, Not Fixtures
Before you touch a single tile, look at your lighting. Old bathrooms often suffer from one harsh overhead bulb that casts unflattering shadows and makes everything feel clinical. Swap that for layered lighting. Add sconces on either side of the mirror for even facial illumination-this alone can make a dated vanity look intentional rather than neglected.
If wiring new fixtures feels too complex, try plug-in wall lamps or battery-operated LED puck lights under shelves. Warm white bulbs (2700K-3000K) soften edges and make brass or gold tones feel luxurious instead of tacky. Natural light helps too: if you have a window, ditch heavy curtains for sheer linen panels. They let light in while maintaining privacy, and they’re easy to wash.
Paint Is Your Cheapest Upgrade
Nothing transforms a room faster than paint. And yes, you can paint over old tile. Use a high-adhesion primer like Zinsser BIN followed by two coats of semi-gloss enamel designed for wet areas. This works wonders on ceramic sinks, bathtubs, and even vinyl floors if you prep properly.
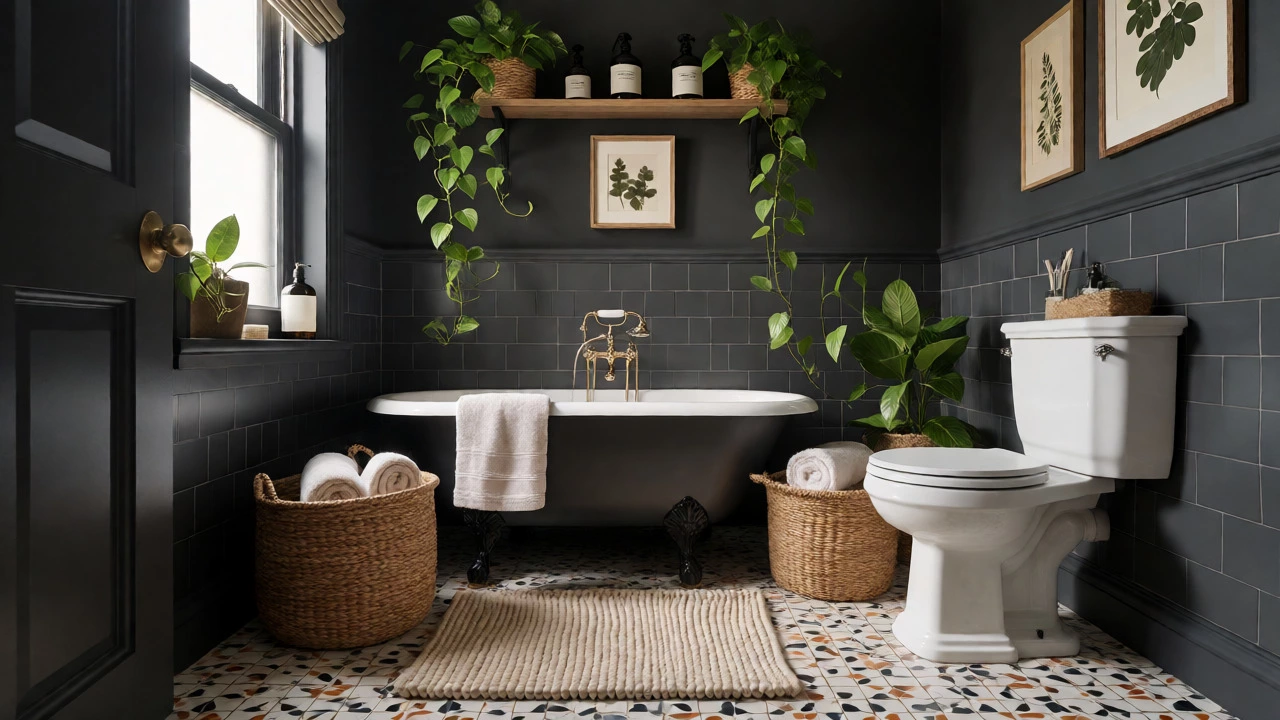
For walls, choose colors that complement existing features. If you’re stuck with pink or blue tile, go neutral: warm whites, soft greys, or deep charcoal create contrast without clashing. Darker shades add drama and hide grout lines, which older bathrooms often show poorly. A matte finish on walls reduces glare, making small spaces feel larger.
Pro tip: paint the ceiling the same color as the walls. It blurs boundaries and tricks the eye into seeing more height-a game-changer in low-ceilinged retro bathrooms.
Swap Hardware, Keep Character
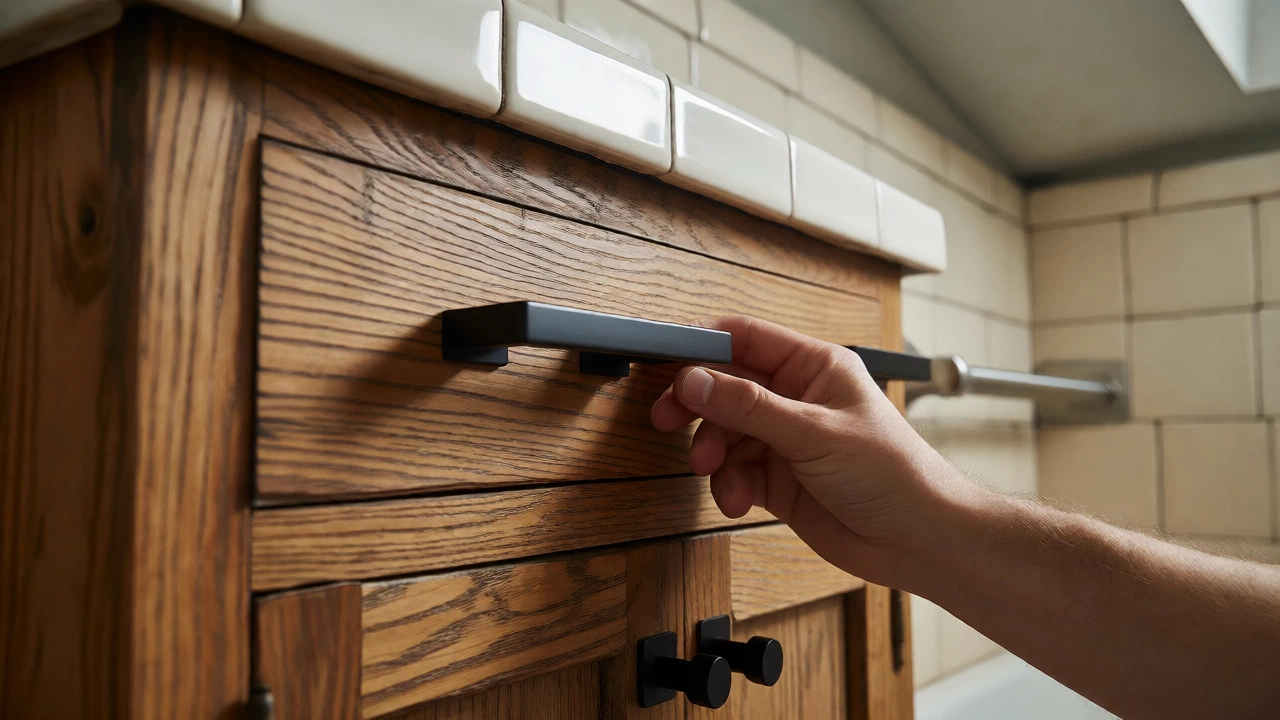
Outdated cabinets and vanities don’t need replacing-they need updating. Replace handles, knobs, and pulls with modern alternatives. Brushed nickel or matte black hardware instantly modernizes wood-toned cabinetry. For a cohesive look, match finishes across towel bars, toilet paper holders, and shower hooks.
| Existing Fixture Tone | Recommended Hardware Finish | Why It Works |
|---|---|---|
| Brass/Gold | Matte Black | Creates bold contrast; hides tarnish |
| Cream/Beige Tile | Brushed Nickel | Adds warmth without competing |
| Pink/Blue Retro Tile | Chrome | Neutral backdrop lets color shine |
| Dark Wood Vanity | Antique Brass | Enhances vintage charm subtly |
This swap costs $20-$50 per fixture and takes minutes. Yet it shifts perception entirely. Suddenly, your “old” bathroom looks curated, not careless.
Upgrade Textiles and Storage
Bathrooms accumulate clutter fast. Towels pile up, toiletries spill onto counters, and nothing has a home. Introduce smart storage solutions disguised as decor. Woven baskets hold rolled towels neatly. Floating shelves free up counter space while displaying plants or candles. Over-the-toilet cabinets use vertical space most people ignore.
Textiles matter too. Replace matching sets with mismatched but coordinated pieces. Try a textured bath mat in jute or cotton rope alongside plush microfiber hand towels. Choose colors pulled from your tile pattern or accent wall. Layering textures adds depth and masks wear on older surfaces.
A quick win: hang a shower curtain liner behind decorative fabric ones. Clear plastic protects against mildew, while outer curtains add style. Wash them monthly to prevent musty smells common in older plumbing setups.
Add Greenery and Artwork
Plants thrive in humid environments-and they breathe life into sterile corners. Pothos, snake plants, and ferns tolerate low light and irregular watering. Place them on windowsills, atop toilets, or in hanging planters near showers. Their organic shapes soften hard tile edges and draw attention away from dated details.
Artwork personalizes space quickly. Frame vintage postcards, botanical prints, or family photos in moisture-resistant frames. Avoid canvas art unless sealed well; humidity warps it. Small galleries above the toilet or beside the sink fill blank walls without overwhelming tiny rooms.
One caution: skip scented candles near open flames if ventilation is poor. Older exhaust fans struggle with steam buildup. Opt for reed diffusers or essential oil sprays instead-they last longer and won’t trigger smoke alarms during long showers.
Refresh Grout and Caulk
Dirty grout ages any bathroom faster than peeling paint. Scrubbing helps, but resealing does more. Use a grout pen for minor stains or apply epoxy-based sealer after cleaning thoroughly. This repels water and prevents mold growth between tiles.
Caulking around tubs, sinks, and showers also needs annual refreshes. Remove old caulk with a razor blade, clean residue with rubbing alcohol, then apply fresh silicone caulk labeled “mold resistant.” Smooth beads with a damp finger for professional results. Done right, this simple step eliminates visual noise and signals care.
If grout lines are cracked or missing entirely, consider regrouting kits available at hardware stores. They cost under $30 and take less than an hour per section. No tiling expertise required-just patience and steady hands.
Embrace What Can’t Be Changed
Sometimes, certain elements stay put: load-bearing walls, fixed plumbing locations, heritage-listed fixtures. Instead of resisting them, highlight their quirks. Expose brick behind a floating shelf. Leave terrazzo flooring untouched and pair it with minimalist furniture. Celebrate imperfections-they tell stories newer builds can’t replicate.
In my own home, I kept a 1970s pedestal sink because its curves softened our angular layout. We painted it white, added a sleek faucet, and surrounded it with open shelving. Guests always comment on how “intentional” it feels. That’s the power of embracing constraints creatively.
Remember: beauty doesn’t require perfection. An old-fashioned bathroom becomes lovely when you respect its history while injecting personality through accessible changes. Start small. Test ideas cheaply. Live with each update before moving forward. You’ll build confidence-and a space that reflects who you are, not just what decade it was built in.
Can I really paint over old bathroom tile?
Yes, but success depends on preparation. Clean tiles thoroughly with trisodium phosphate (TSP), sand lightly to roughen surfaces, then apply a bonding primer like Zinsser BIN. Follow with two coats of urethane-modified alkyd paint or specialty tile paint. Allow 48 hours curing time before exposing to moisture. Results last 3-5 years with proper maintenance.
What’s the best way to hide outdated plumbing pipes?
Wrap exposed pipes with faux copper sleeves or paint them to match surrounding walls. Alternatively, install slim cabinet boxes around visible drainpipes beneath sinks. For freestanding tubs, drape tailored skirts made from waterproof fabric. These methods conceal eyesores without requiring pipe relocation, which involves cutting into walls and risking leaks.
How do I deal with persistent odors in an old bathroom?
Odors usually stem from dried-out P-traps, moldy grout, or faulty exhaust vents. Pour half a cup of baking soda followed by vinegar down drains weekly. Deep-clean grout with oxygen bleach solution. Check that your fan vents outside-not into attic spaces-and run it for 20 minutes post-shower. Replace filters every six months if present. Never mask smells with air fresheners alone; address root causes first.
Are vintage-style faucets worth upgrading?
Only if they leak or lack water efficiency standards. Modern equivalents offer identical aesthetics with better performance. Look for WaterSense-certified models using ≤1.5 gallons per minute versus older 2.2+ gpm units. Installation typically requires no plumbing modifications beyond swapping connectors. Budget $80-$200 depending on brand and complexity.
How much does a budget-friendly bathroom refresh cost?
Expect $300-$800 NZD for materials including paint ($60), hardware ($100), textiles ($120), lighting upgrades ($150), and supplies ($70). Labor remains optional if you DIY painting, caulking, and installation. Major savings come from retaining existing fixtures and focusing on cosmetic enhancements rather than structural changes.