Curtain Rod Extension Calculator
Window & Fabric Details
Quick Tips
- Golden Rule: Extend 3-6 inches past each side
- Heavy Fabrics: Need more extension for stacking space
- Small Rooms: Larger extensions make windows appear wider
- Anchors: Use sturdy anchors for extensions over 4 inches
You hang your new curtains, pull them closed, and realize the fabric barely covers the glass. Worse yet, when you open them, they block half the light because the rod sits too close to the frame. It’s a frustrating mistake that happens more often than you’d think. Getting the distance right isn’t just about aesthetics; it’s about function, light control, and making your room feel larger.
The short answer is simple: curtain rods should extend 3 to 6 inches past each side of the window frame. But if you want a look that feels intentional rather than accidental, you need to consider the weight of your drapes, the style of your trim, and how much light you actually need in the morning.
The Golden Rule: Why 3 to 6 Inches Works
This range exists for a specific reason. When you stack curtains to one side, they take up space. If the rod ends exactly at the edge of the window, the fabric bunches up against the wall or even blocks part of the glass. By extending the rod, you ensure that when the curtains are open, they sit fully outside the window opening, maximizing natural light.
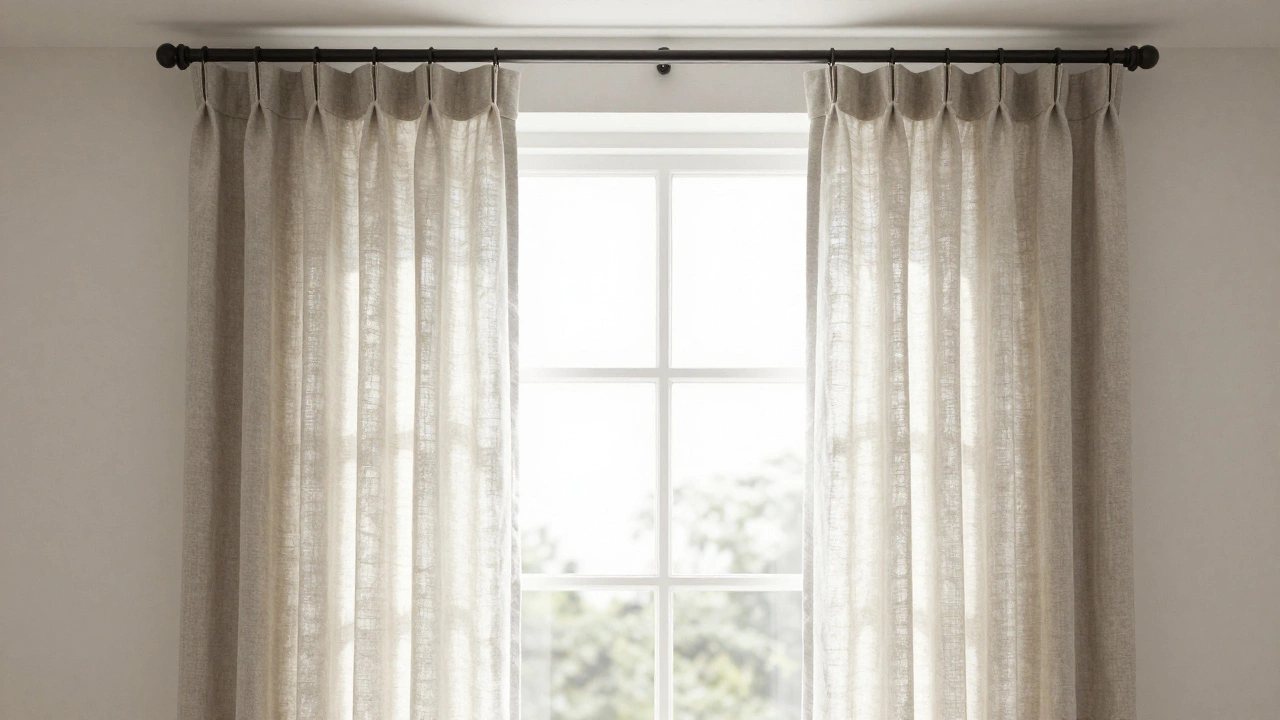
- 3 inches: Ideal for lightweight sheers or café-style curtains where stacking bulk is minimal.
- 4 to 5 inches: The sweet spot for most standard residential windows with medium-weight linen or cotton drapes.
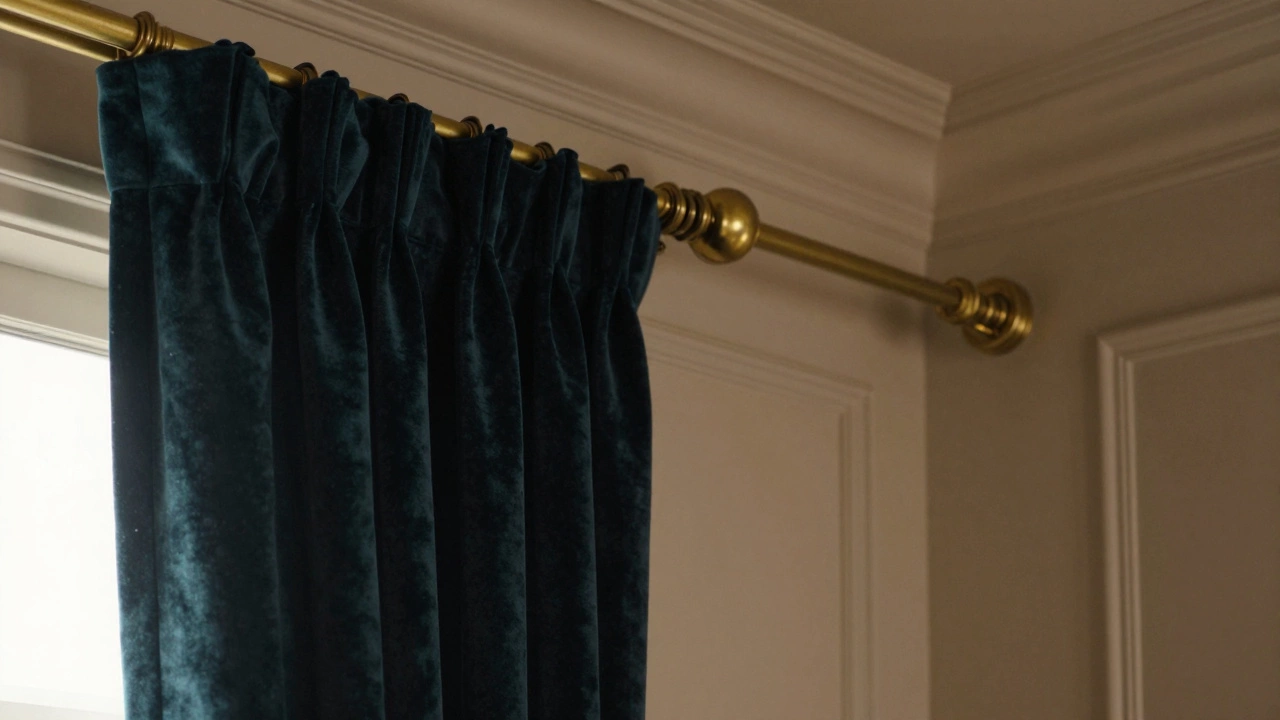
- 6 inches (or more): Necessary for heavy velvet, blackout fabrics, or floor-length drapes that create significant volume when gathered.
If you have a very large window, say wider than 6 feet, you might even push this to 8 inches per side. This creates a grander, more luxurious appearance, mimicking the scale found in high-end hotels.
Measuring for Accuracy: Frame vs. Wall
Before you buy brackets, you need to decide where the rod will actually sit. This decision changes how you measure and which type of bracket you need.
Option 1: Inside the Trim (Recessed)
If you have deep window sills or prominent crown molding, mounting the rod inside the trim looks cleaner. However, you must measure the depth of the sill. If the sill is deeper than 3 inches, you’ll need angled brackets so the rod doesn’t hit the glass when opened. In this case, stick to the minimum 3-inch extension unless the sill is shallow enough to allow more clearance.
Option 2: Outside the Trim (Wall-Mounted)
This is the most common and forgiving method. You mount the brackets directly onto the wall above the window casing. Here, you can freely use the full 6-inch extension without worrying about hitting the sill. This method also allows you to raise the visual height of the window by placing the rod higher up on the wall.
| Mounting Style | Best For | Extension Limit |
|---|---|---|
| Flat Wall Bracket | Standard drywall, no trim interference | Up to 6 inches easily |
| Angled Bracket | Deep sills, recessed mounting | 3 to 4 inches (depends on angle) |
| Decorative Finial Bracket | Aesthetic focus, lighter fabrics | Variable, check finial size |
Heavy Fabrics Require More Extension
The material of your curtains plays a huge role in how far the rod needs to go. Think about the physics of gathering fabric. A sheer voile curtain stacks neatly, taking up maybe 4 to 5 inches of width when fully pulled aside. A thick thermal blackout drape, however, can bulge out significantly, creating a "stack" that is 8 to 10 inches wide.
If you use a rod that only extends 3 inches for heavy velvet drapes, two things will happen:
- Light Loss: Even when open, the bunched-up fabric will cover 10% to 15% of your window glass.
- Visual Clutter: The curtains will look cramped and messy against the wall, rather than flowing elegantly.
To fix this, calculate the stack size. A good rule of thumb is that the stacked width is roughly 40% to 50% of the total fabric width. If your curtains are double-fullness (2x the window width), the stack will be substantial. Extend the rod 6 to 8 inches to accommodate this bulk.
Creating the Illusion of Space
Interior designers love extending curtain rods because it tricks the eye. When the rod extends past the window, it draws attention outward, making the wall appear wider than it actually is. This is particularly useful in small rooms or spaces with narrow windows.
If you have a window that is only 3 feet wide but spans from floor to ceiling, extending the rod 6 inches on each side makes the window look like a 4-foot-wide feature. It balances the proportions of the room. Conversely, if you have a massive picture window, a slight extension (3 inches) keeps the focus on the view rather than the framing.
For bay windows, the rules change slightly. You typically install separate rods for each pane or one long curved rod. If using straight rods for individual panes, still follow the 3-to-6-inch rule relative to each pane’s frame, not the entire bay structure. This ensures each section opens cleanly without interfering with its neighbor.
Common Mistakes to Avoid
I’ve seen many DIY projects fail because of minor measurement errors. Here are the pitfalls to watch out for:
- Ignoring the Finials: Many decorative rods have large end caps (finials). These add length. If your rod extends 6 inches, but the finial adds another 2 inches, your total extension is 8 inches. Make sure the finial doesn’t protrude into the walkway or hit adjacent furniture.
- Uneven Extensions: Always measure from the center of the window out to both sides. Walls aren’t always perfectly symmetrical. If you mark one side first, double-check the other side before drilling. An uneven rod looks amateurish.
- Drilling Too Low: While this article focuses on horizontal extension, vertical placement matters too. Mount the rod 4 to 6 inches above the window frame. Combined with proper horizontal extension, this creates a taller, more elegant silhouette.
- Using Weak Anchors: Longer extensions mean more leverage. A rod extending 6 inches puts more strain on the mounting screws than one extending 3 inches. Use wall anchors rated for at least 20 lbs per bracket, especially for heavy rods.
Special Cases: Sliding Doors and French Windows
Sliding glass doors and French windows present unique challenges. Because these openings are often used for access, you don’t want curtains blocking the path.
For sliding doors, aim for the maximum extension possible-usually 6 to 8 inches. This allows the curtains to stack completely off the door track, ensuring you can slide the door open without moving the fabric first. If space is tight, consider a tension rod mounted inside the frame for sheers, and a wall-mounted rod for heavier drapes that stay open most of the time.
For French windows, symmetry is key. Since these windows often have multiple panes, treat the entire opening as one unit. Measure the total width of all panes combined, then extend the rod 4 to 6 inches past the outermost edges. This ensures that when you close the curtains for privacy, they meet in the middle without gaps, and when open, they clear the handles and locks.
Tools You’ll Need for Installation
Getting the extension right requires precision. Don’t rely on eyeballing it. Here’s what you need:
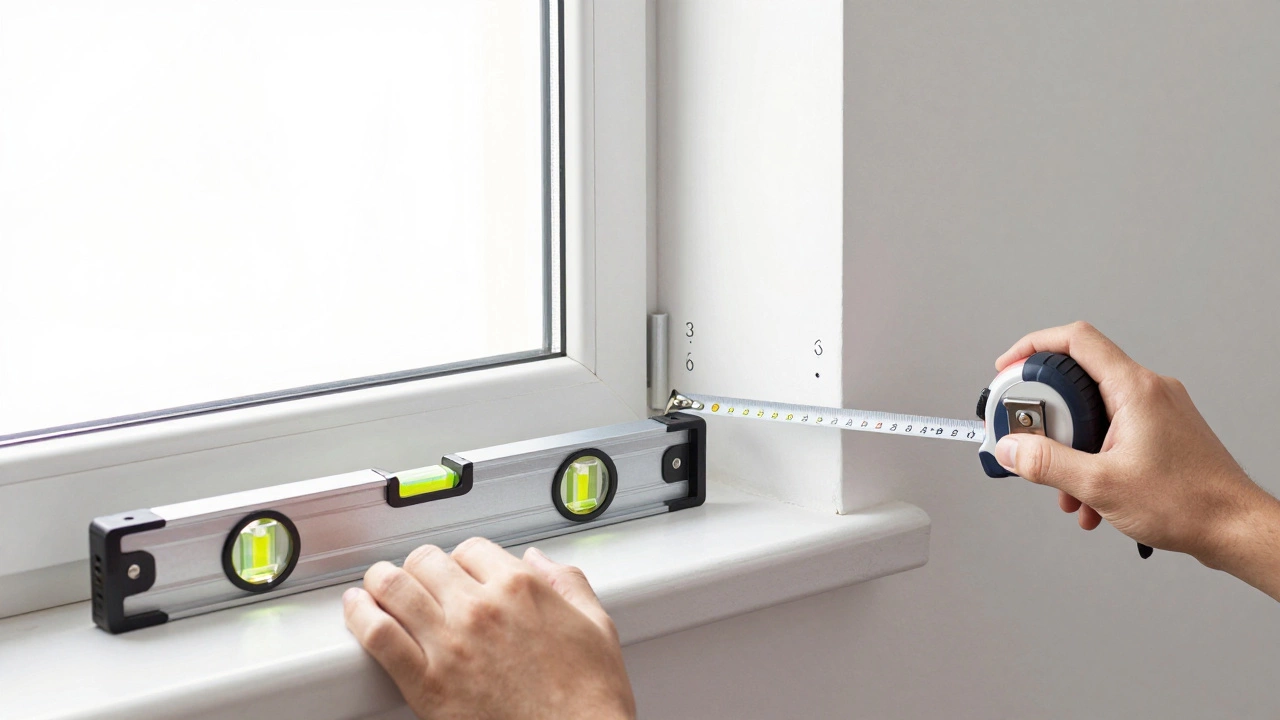
- Tape Measure: A flexible steel tape is essential for measuring from the window edge to the desired extension point.
- Level: Ensure your marks are perfectly horizontal. A crooked rod is noticeable immediately.
- Pencil: Mark your drill holes clearly.
- Stud Finder: Ideally, mount at least one bracket into a wall stud. If studs aren’t aligned with your extension points, use high-quality toggle bolts for drywall.
- Drill: Pre-drill pilot holes to prevent cracking plaster or drywall.
Once your marks are made, hold the rod up to visualize the final look. Step back. Does it look balanced? Does it allow enough clearance for the curtains to open fully? Adjust if necessary before committing to permanent holes.
What happens if my curtain rod doesn't extend past the window?
If the rod does not extend past the window frame, the curtains will block a portion of the glass even when fully opened. This reduces natural light intake and makes the window appear smaller. Additionally, the fabric may bunch up against the wall, looking cluttered and unpolished.
Can I extend the curtain rod more than 6 inches?
Yes, you can extend the rod more than 6 inches, especially for very large windows or heavy drapery. Some designers recommend up to 8 or 10 inches for dramatic effect. However, ensure your brackets are sturdy enough to support the increased leverage and that the rod doesn't interfere with nearby furniture or walls.
Should the curtain rod extend past the window on both sides equally?
Ideally, yes. Symmetry creates a balanced and professional look. Measure from the center of the window to ensure both sides extend by the same amount. If the window is off-center in the wall, you might adjust slightly to balance the visual weight within the room, but equal extension is the standard best practice.
How do I handle curtain rod extension for bay windows?
For bay windows, treat each pane individually if using straight rods. Extend the rod 3 to 6 inches past each pane's frame. If using a single curved rod for the entire bay, ensure the curve accommodates the angles without pulling the fabric tight. The goal is to keep each section independent so they can open and close without tangling.
Do finials count toward the curtain rod extension measurement?
Technically, the extension refers to the rod itself, but visually, the finials add to the overall width. If you have large decorative finials, they can add 1 to 3 inches to each side. Consider this when planning your layout to ensure the finials don't protrude into walkways or hit adjacent objects.